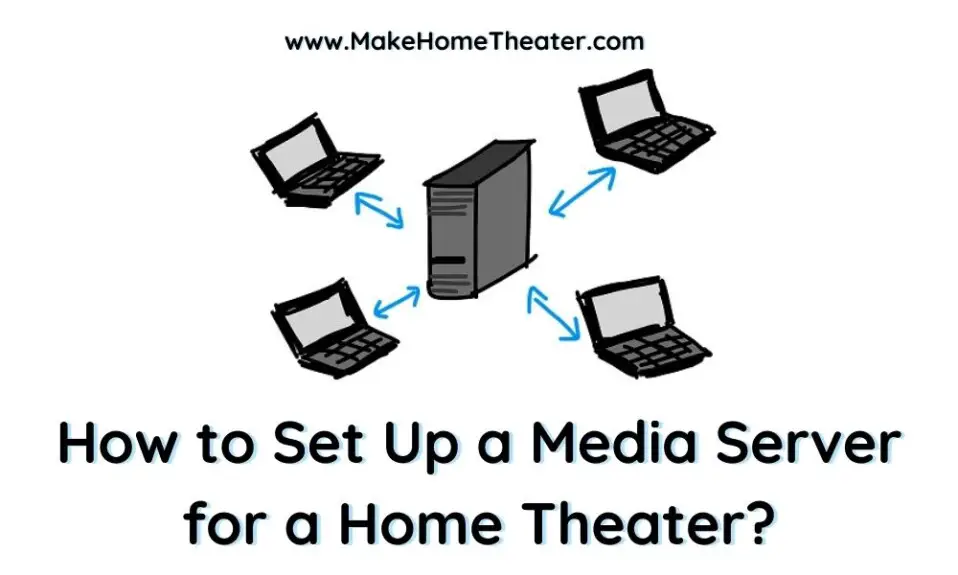
Media servers, also known as home media centers, serve as a central hub for all your media needs. They store movies, TV shows, games, music, and more. How to Set Up a Media Server for a Home Theater? There are two options for setting up a media server – a NAS (Network Attached Storage) device or a dedicated computer.
By using a media server, you have the flexibility to watch your content on a connected TV or stream it on various devices through your home network. No longer do you have to worry about transferring files from one device to another. Everything is stored in one convenient location.
Steps for Establishing a Home Media Server
Setting up a media server for your home theater can be a simple process. Here’s an overview of the steps involved:
- Choose between a NAS device or a dedicated computer as the base for your media server.
- Install the necessary hard drives to store your media files.
- Connect the media server to your home network using an Ethernet cable.
- Transfer your media files to the hard drives and install any desired applications.
- Start using your media server as a streaming service, backup storage solution, or for any other purpose.
For a more in-depth explanation of each step, keep reading. We’ll go through the process of choosing between a NAS or a computer, selecting the right hard drives, connecting the media server to your network, installing the necessary applications, and transferring your files. With this guide, setting up your media server will be easy and stress-free.
Step 1: Choose between a NAS device or a dedicated computer as the base for your media server
The decision to buy a NAS or to build or repurpose a computer as a media server depends on several factors. Consider the following questions when making your choice:
- How many functions do you want the machine to perform?
- How much time and effort are you willing to dedicate to this project?
- Are you highly knowledgeable about technology or do you have basic understanding?
- What is your budget for this project?
NAS Enclosure Media Server:
A NAS (network-attached storage) media server is a device equipped with hard drive bays and designed to distribute files and media across a network. When using a NAS as a media server, it’s important to ensure that it has a sufficient processor and memory to prevent buffering or lag.
The main purpose of a NAS media server is to provide high-quality video to various devices without interruption. To achieve this, the NAS must be capable of transcoding different media files into a format compatible with the devices. Transcoding requires significant processing power, which is why a NAS typically has a dedicated processor and memory for serving, transcoding, and managing the media files stored on the hard drives.
NAS Enclosure Media Server Pors & Cons
| PROS | CONS |
|---|---|
| – Dedicated Functionality: A NAS is designed solely for handling files and media, which maximizes its processing power for its intended purpose. This eliminates the risk of slowing down due to running multiple processes such as web browsers and backups. – Rich Features: A NAS comes with a range of applications and utilities that are readily available for use. – Easy Configuration: Setting up and configuring a NAS is more straightforward due to its intuitive graphical user interface and operating system. – Continuous Availability: With a NAS, your media is always available as it is meant to run continuously. In contrast, accessing media stored on a computer requires that the computer is turned on. – Compact Size: The NAS enclosure is much smaller in size compared to a desktop computer or server. – Manufacturer Support: Access to customer support through the manufacturer is available, including assistance with advanced uses if needed. | – Cost: A NAS media server comes at a price point of $300 or more, making it more expensive than repurposing a decent desktop computer. – Limited Customization: Depending on the system you choose, you may feel limited in terms of customizing your media server. Some NAS enclosures have a limited set of features and software available. – Processing Power: A dedicated computer or server will generally outperform a NAS enclosure, particularly when multiple users are streaming at the same time. – Upgradability: Some NAS enclosures have limited upgradability options, with either 1 or 2 slots for RAM and no option to upgrade the processor. While you can upgrade the hard drive storage, it will depend on the number of bays available. |
The QNAP TS-932PX-4G NAS (on Amazon) and the Synology 2 bay NAS DiskStation DS220+ (on Amazon) are both popular options for those looking to set up a media server.
With 2 hard drive bays and pre-installed RAM, these units provide ample storage space for your media collection. The QNAP TS-251+ has a quad-core 2.0GHz processor, which is a bit faster than the dual-core 2.0GHz processor in the Synology DS218+. However, it’s also slightly more expensive.
It’s important to keep in mind that both of these options have the ability to expand their memory to 6-8GB, so you can always upgrade as your storage needs increase.
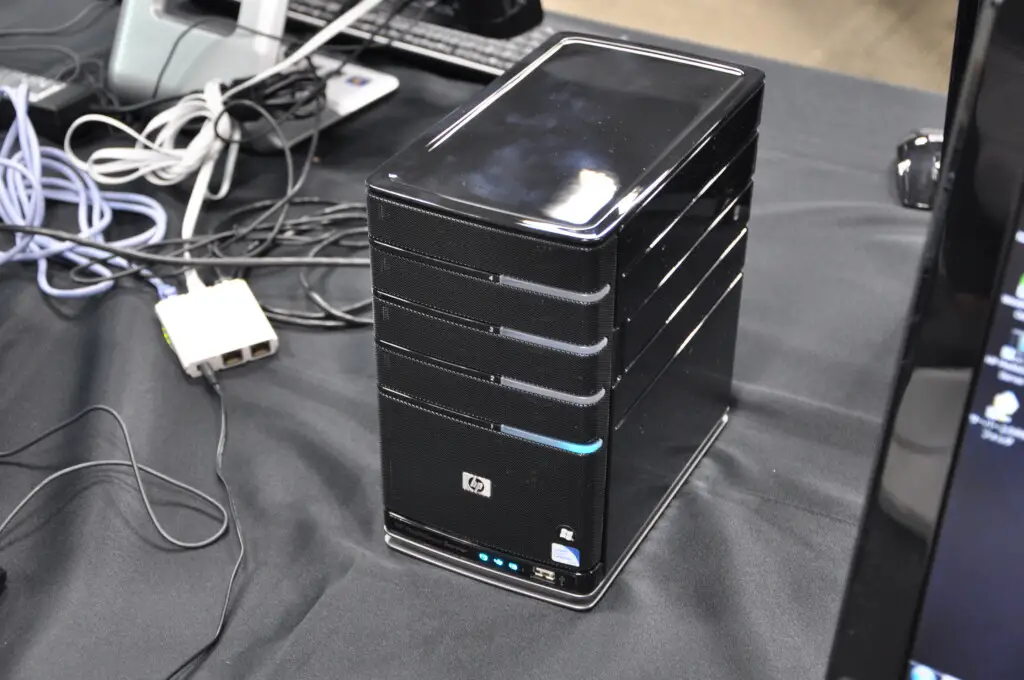
Typical Computer set up as a NAS Media Server
To ensure efficient performance, it is best to dedicate the computer solely to this purpose and possibly a few additional small tasks.
The NAS media server should not run other processes that might slow it down, such as web browsing or typical computer uses. Instead, its primary function is to store files and media on its hard drives and distribute or transcode them as necessary.
Using a computer as a NAS media server offers more flexibility than using a NAS enclosure. Like a normal computer, it can run different hardware, operating systems, and applications, giving you the ability to fully customize the setup to meet your needs.
It is crucial to keep the server running smoothly by regularly maintaining it. This may include updating the software, backing up data, and monitoring the performance to ensure that it is functioning optimally. By doing so, you can ensure that your NAS media server will serve you well for years to come.
Typical Computer as a NAS Media Server Pors & Cons
| PROS | CONS |
|---|---|
| – Upgradable Hardware: With a computer, you have the flexibility to upgrade any component, such as the motherboard, processor, RAM, or network card, as needed. Unlike a NAS enclosure, which may use a laptop motherboard with limited upgradability, a typical desktop motherboard has more RAM slots and PCIe slots for greater potential. – More Processing Power: A computer offers much faster processing speeds than a NAS enclosure. If you need more power, you can easily upgrade your processor, depending on your motherboard. – More Cost-Effective with Repurposed Computers: Many people have switched from desktop computers to laptops, making it easy to repurpose an older desktop computer as your NAS media server, as long as it has enough processing power, RAM, and storage. – More Operating System Options: With a computer, you are not limited to using Windows as your operating system. Linux-based NAS operating systems, such as Amahi and NAS4Free, are available for a reasonable price or even for free. These operating systems simplify the process of configuring your NAS. | – More Difficult Configuration: Configuring the hardware, operating system, and software of a computer can be a complex and time-consuming task, much more so than setting up a NAS enclosure. – Limited Support: With the amount of configuration involved, it may be challenging to find an easy support channel to help you set it up. You may need to rely on YouTube videos and Google searches for assistance. – Larger and Bulky: A desktop computer is significantly larger than a typical NAS enclosure and requires more space. It may not fit in your home entertainment center and will need a dedicated space. – More Expensive Upgrades: Upgrading computer components can be an expensive task, especially if you need high-end components. This should be kept in mind if you plan on using an older system that may become outdated within a few years. |
Step 2: Install the necessary hard drives to store your media files
When it comes to storage for NAS media servers, most NAS enclosures and desktop computers use 3.5-inch internal hard disk drives (HDDs). There are various types of HDDs available, and they are often differentiated by color, such as red, blue, green, black, purple, or gold.
NAS drives are designed specifically for use in NAS enclosures and are identified by the color red. These drives are built to run continuously and have a higher read rate than regular HDDs, making them ideal for media server use. They also support RAID configurations, which provide data redundancy and protection against drive failures.
There are two main RAID configurations that are suitable for most NAS enclosures and media servers: RAID 0 and RAID 1. However, it’s important to note that any RAID configuration must use identical hard drives for the best performance and data protection.
Using RAID 1 is a safer option for a media server setup. This is because it keeps an exact copy of the data on each drive. But it’s important to keep in mind that using this RAID configuration will result in half of the total storage capacity being sacrificed.
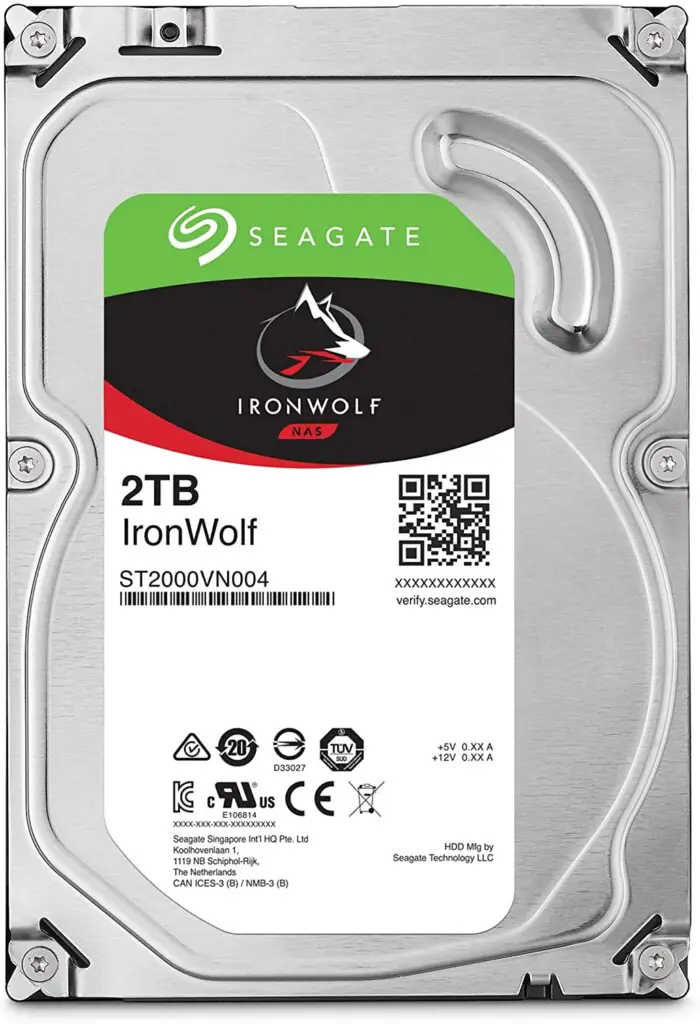
For the best performance, I recommend using identical red NAS hard drives, such as Seagate Iron Wolf NAS HDD or Western Digital Red NAS HDD. Both these brands have a great reputation and offer reliable storage options for your media server setup. To compare the 2TB models from both Seagate and WD, you can refer to the comparison chart mentioned in the text.
It’s always good to educate yourself on the different RAID configurations and their benefits. For more information, you can watch a video on RAID configurations.
| Western Digital Red 2TB | Seagate Iron Wolf 2TB | |
|---|---|---|
| Capacity Options | 1TB – 10TB | 1TB – 14TB |
| Interface | SATA 6GB/S | SATA 6GB/S |
| Hard Drive RPM | 5400 RPM | 7200 RPM |
| Cache | 64MB | 256MB |
| Warranty | 3 Years | 3 Years |
| AVG Price (Will Vary) | $85 | $77 |
Keep in mind that the amount of storage you need also depends on the type of files you want to store. If you plan to store mostly large multimedia files such as high definition movies and music, then you’ll need a larger capacity drive. If you plan to store mostly small files such as documents and photos, then a smaller capacity drive should suffice.
Additionally, consider the number of users that will be accessing the media server and the frequency of access. If you have multiple users accessing the server frequently, you may need more storage to accommodate the increased usage.
Finally, it’s also important to keep in mind the cost per terabyte (TB) of storage. The price of storage can vary greatly, so it’s important to choose a drive that is both reliable and cost-effective.
Install the Hard Drives
It’s always good to consult the manual or look for online tutorials for your specific NAS enclosure or desktop computer for more specific instructions. Additionally, make sure to properly format the new hard drive before use and make sure to backup important data before installation to ensure that it remains safe during the process.
Step 3: Connect the media server to your home network using an Ethernet cable.
It is recommended to use a gigabit ethernet connection when connecting the NAS media server to the home network. This will ensure fast and reliable transfers of media files. If your home network does not have a gigabit ethernet switch, then you may need to upgrade to a switch that supports gigabit ethernet speeds.
You can also use Wi-Fi to connect the NAS media server to the home network, but it is not recommended as Wi-Fi speeds can be slower and less reliable compared to a wired connection. If you do decide to use Wi-Fi, it is important to have a strong Wi-Fi signal and to minimize the distance between the NAS media server and the Wi-Fi router.
In addition, it is important to keep the network clean and free of bottlenecks. This means avoiding overloading the network with too many connected devices, keeping the network free of malware, and ensuring that all devices on the network are functioning optimally.
To ensure a smooth and reliable connection, follow these tips:
- Use an Ethernet cable, not wireless. Wireless signals are unreliable for the proper functioning of your NAS.
- Check your transfer speed. Know the transfer speed supported by your NAS or computer’s network card. Most NAS enclosures support up to 1 Gb/sec, so make sure your network card also supports that speed.
- Ensure network infrastructure speed. Your modem/router must support transfer speeds of up to 1 Gb/sec. If it doesn’t, consider investing in a newer router.
- Choose the right cable. Use a Cat 5e or Cat 6 Ethernet cable to connect your NAS to the network. Both cables support 1 Gb/sec speed, with Cat 6 even supporting 10 Gb/sec.
While a transfer speed of 1 Gb/sec is not a must, it is a big improvement from 100 Mb/sec. Higher transfer speeds will provide you with better performance.
Step 4: Transfer your media files to the hard drives and install any desired applications.
With the media server successfully connected to the network, it’s time to move your media and files to it and install any necessary apps. However, the steps for doing so may vary depending on your setup. Hence, it’s challenging to provide specific instructions.
NAS Enclosure
For a NAS enclosure setup, the manufacturer provides detailed instructions for setting it up. Follow these instructions and transfer your files through your preferred method, either from your computer or external hard drive.
The operating system of the NAS enclosure typically includes an “app store” with various applications to choose from. The most popular media server app for a NAS enclosure is likely Plex Media Server. Although you’ll need to pay a yearly fee to access it on all devices, it’s well worth it.
The Plex Media Server application is highly advanced, offering seamless transcoding and file management. It allows you to access your media on a wide range of devices such as Fire TV, Apple TV, smart TVs, tablets, smartphones, and computers. However, if you prefer a different service, there are many other options available.
It’s worth noting that a NAS enclosure is not just limited to being a media server. It offers access to many other applications, such as backup/syncing, content management, entertainment, home automation, security, and more. So, it’s more than just a simple media server.
Computer NAS
Setting up a Computer NAS is a bit more complicated, but there are many options available. Here’s what you need to do:
- Install the Operating System – Choose an operating system to run on the computer. You can choose from Windows, Amahi, NAS4Free, or a regular Linux distribution. A Linux-based NAS operating system is recommended, as it simplifies the setup process and allows you to easily configure and install compatible applications from an app marketplace. Additionally, Linux uses less operating power compared to Windows, which is more resource-intensive and may slow down the system.
- Transfer Media and Other Files – After installing the operating system, transfer your media files to the hard drives using external hard drives, mapping drives, or through the network using FTP. It’s best to map the hard drive inside Windows or Mac for easy access to your files from other devices.
- Install Media Server Application – After transferring your files, install a media server application to distribute the media to different devices. Plex Media Server is one of the best options, as it is available on all major operating systems and is very advanced in its transcoding and file management methods.
Step 5: Start using your media server
With your media server ready to go, you can now start watching your favorite movies and TV shows on any device you choose. All you need to do is install a media player app like Plex Media Player on the device you want to use.
You can watch your media from anywhere in your home as long as you have a strong network connection. The setup process may take some time, but it’s worth it in the end. You will have the ability to enjoy all your media files in one central location.
Please note that this article does not promote any illegal activities like copyright infringement.
Also, don’t forget to check out other articles, such as using a projector in a living room, to enhance your home entertainment experience even further.
Read Also: How to Use a Phone as a TV Remote?
Related Q&A

- What is a home media server? A home media server is a device that stores and shares multimedia files in a household network.
- Why set up a home media server? Setting up a home media server allows you to access and stream your media files from any device, anywhere in your home.
- What do I need to set up a home media server? To set up a home media server, you need a computer or a dedicated device, a hard drive for storage, and a home network.
- How do I choose the right hardware? Consider the number of users and devices, the amount of storage needed, and the processing power required when choosing hardware for your home media server.
- How do I install the operating system? You can install the operating system of your choice, such as Windows, Linux, or NAS-specific OS, onto your hardware to create a home media server.
- How do I set up file sharing? To set up file sharing, you need to configure your network settings, create user accounts, and set up shared folders for your media files.
- How do I stream media to other devices? To stream media to other devices, you need to install a media server software, such as Plex, Emby, or Kodi, onto your home media server.
- How do I access my home media server from outside my home network? To access your home media server from outside your home network, you need to set up port forwarding and a dynamic DNS service.
- How do I secure my home media server? To secure your home media server, you can use a strong password, regularly update the software, and use encryption for data transmission.
- Can I use a cloud service as a home media server? Yes, you can use a cloud service, such as Google Drive or Amazon Cloud Drive, as a home media server by uploading your media files to the cloud and accessing them from any device.