

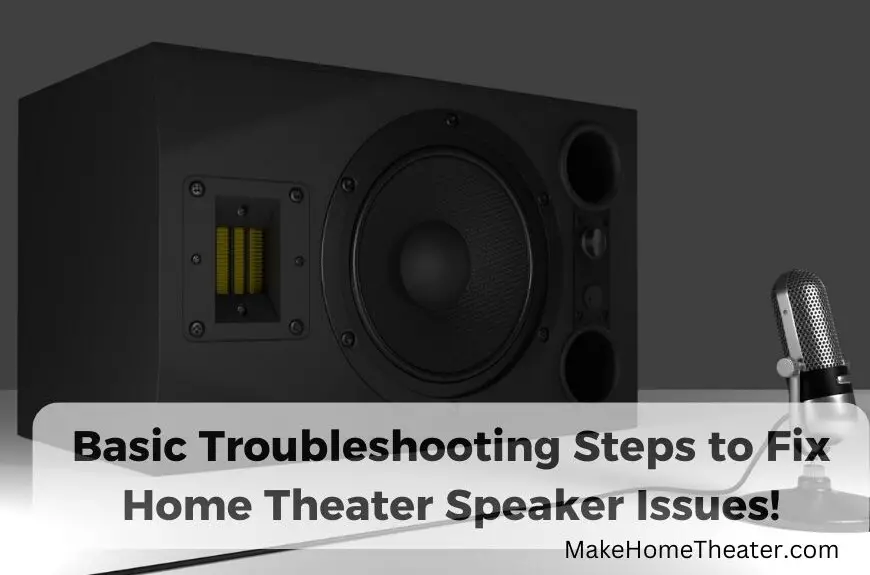
Do your home theater speakers sound wrong? They might have a buzzing noise or not work at all. Don’t worry, this article have you covered. We’ll go over helpful tips to fix Home Theater Speaker Issues.
Remember, speaker issues can occur when the system is not set up correctly. We’re confident that one of these tips will solve the problem for you.
- turn the receiver/amplifier off and back on.
- Test using multiple sources!
- Check the speaker connections.
- Is a single speaker not working or outputting static?
- All of the speakers are working, but sound a little off. Calibrating receiver settings.
- The sound is a little off. Calibrating receiver settings continued.
- Front or surround speakers create muffled sounds when the audio is bass heavy.
- Does the subwoofer sound muddy or muffled?
- Does one speaker sound off or completely different than the others?
Try each tip one by one until you find the solution that works for you. Good luck!
We have also covered a lot about speakers, feel free to check out our articles here.
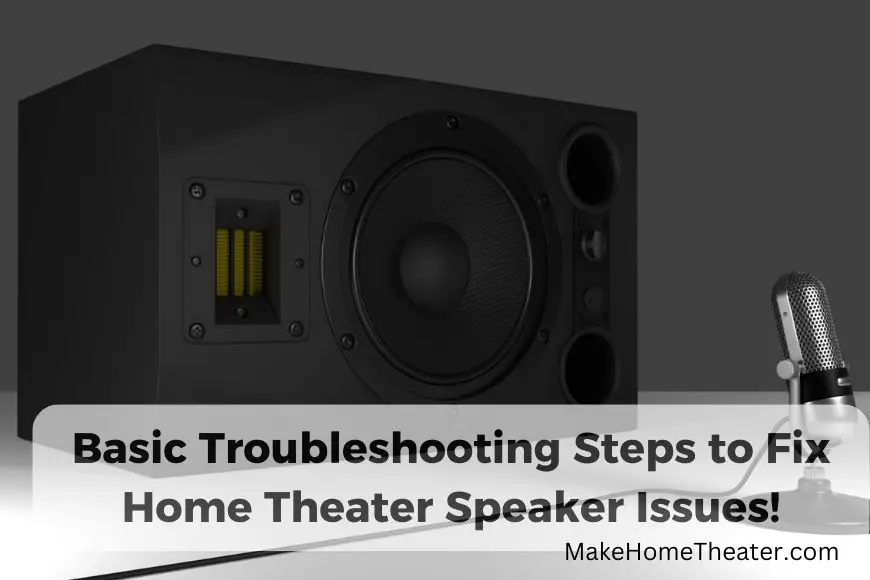
Table of Contents
- Have you turned the receiver/amplifier off and back on?
- Always test using multiple sources!
- Is a single speaker not working or outputting static?
- All of the speakers are working, but sound a little off. Calibrating receiver settings.
- All of the speakers are working, but sound a little off. Calibrating receiver settings continued.
- The front or surround speakers create muffled sounds when the audio is bass heavy.
- Does one speaker sound off or completely different than the others?
- Does the subwoofer sound muddy or muffled?
- To Sum Up
- Related Q&A
- Are you sure the volume is turned up?
- What about the audio input settings?
- Have you tried resetting the speaker settings?
- Do you have any other equipment connected to the receiver?
- Is there any problem with the sound from the TV?
- Have you tried resetting the receiver?
- Is there any damage to the speakers or wiring?
- Have you updated the firmware of your receiver?
- Is the room layout affecting the sound quality?
- Have you tried different speaker wires?
- Are all of the speakers working?
- Is there any problem with the power supply?
- Are the speakers compatible with your receiver?
- Have you tried adjusting the equalizer settings?
- Is the sound coming through clearly or is it distorted?
Have you turned the receiver/amplifier off and back on?
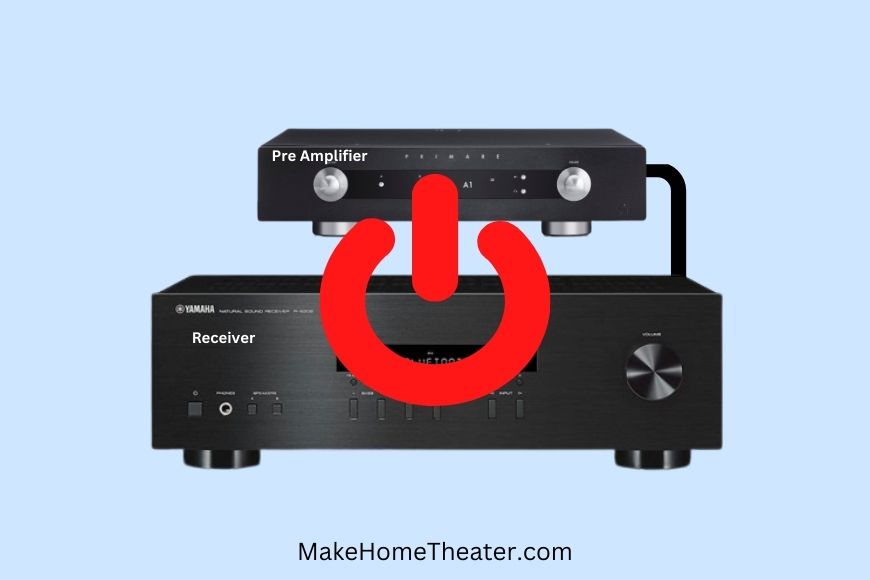
Have you tried a simple fix for your speaker issues? Sometimes, all it takes is a simple power cycle. Turn off your receiver or amplifier, wait 10 seconds, and then turn it back on. This simple step can often solve technical issues.
Nowadays, receivers and amplifiers are more complex electronics, so a power cycle is a must before trying anything more complicated. If the first step doesn’t work, try a hard reset. Turn off your unit, unplug the power cable, wait 30 seconds, and then plug it back in and turn it on. Give these steps a try, they just might solve your speaker problems!
Always test using multiple sources!


If you’re having audio problems, try switching to a different audio source first. Instead of using digital connections like HDMI, Digital Coax, or Fiberoptic, use an analog connection like an RCA to Aux cable (3.5mm) or an RCA to RCA cable for a DVD player. This can help eliminate any issues that may arise from digital audio encoding.
By using an analog connection, you’re getting a more direct input and it’s a simpler way to rule out any encoding problems. Give it a try before you start making major changes to your system.
Check the speaker connections. Are they securely plugged in or screwed into place?

Check the speaker connections to make sure they’re secure. If you’re using screws to connect the speaker cables, be careful not to let two cables touch. If they do, it could cause a short circuit, which is something you want to avoid.
If you’ve ruled out the possibility of two wires touching, try disconnecting the speaker wire that’s associated with the problematic speaker(s). Twist the wire into a tight line, cut it to about 10mm, and then reconnect it to the binding post.
A convenient alternative to using bare wire is using banana plugs. They can be a bit pricey if you need a lot of them, but the ease of use is worth it. When you need to move your receiver, it’s much simpler to just unplug the speaker wires.
Is a single speaker not working or outputting static?
It’s uncommon for just one speaker to stop working completely. If the speaker isn’t producing any sound even though the wires are securely connected, it’s time to check the speaker wire. If you have a multimeter (On Amazon), you can test the impedance level by setting the multimeter to measure ohms (Ω).
Disconnect the speaker wire and touch the red probe to the red or positive speaker lead and the black probe to the black or neutral speaker lead. The multimeter should read between 6-16 ohms, with most speakers having an impedance level of around 8 ohms. If you don’t have a multimeter, you can buy a cheap one that can be used for many other things. It’s a useful tool to have around the house.
If you don’t have a multimeter, you can use a spare speaker wire to perform a simple test. If the speaker is in-wall or in-ceiling, you’ll need to remove it. Connect the spare speaker wire to the speaker and the binding post where the original cable was connected. If the speaker works with this connection, then the original cable was faulty.
If the speaker still isn’t working, the problem could be with the receiver’s port or the speaker itself. You can easily test this by disconnecting the speaker wire from a known working port and connecting the spare speaker wire to the known working port.
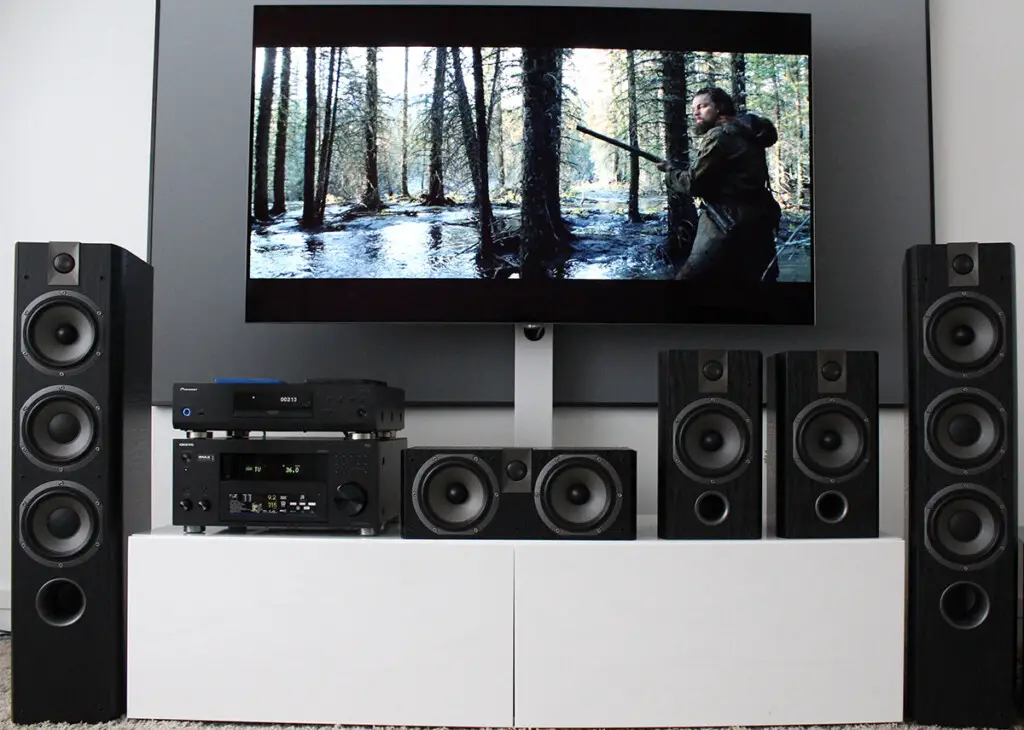
All of the speakers are working, but sound a little off. Calibrating receiver settings.
If your home theater speakers are still not working properly, consider using a setup microphone to automatically adjust the audio settings. Most modern receivers come with a microphone that can be connected and used to calibrate the settings. Simply attach the microphone to a stand or tripod and place it in your sitting area.
Different receivers will run the calibration process differently, so be sure to check the settings after the process is complete. If your receiver doesn’t come with a calibration microphone, you can download SPL meter applications to your smartphone as a substitute. However, this is not as accurate and easy as using a calibration microphone.
Calibration microphones are typically good at setting the distance and level of the speakers, but some additional adjusting of the crossover and EQ settings may be necessary. Using a setup microphone is a quick and simple solution that can help fix your home theater speaker issues.
All of the speakers are working, but sound a little off. Calibrating receiver settings continued.
When trying to resolve an issue, calibrating the microphone may not always work. Another solution is to adjust the speaker size. Most modern receivers have a setting for each speaker, offering the option of either “small” or “large.”
The choice between small or large depends on the speaker’s capability to produce the full range of frequencies. Small speakers often struggle to produce low-end frequencies, so they are usually set to “small.” These low-end frequencies refer to deep bass sounds typically produced by a subwoofer.
Denon suggests setting all speakers to “small” to take advantage of the receiver’s internal crossover and bypass frequencies under the crossover point to the subwoofer. The crossover point is usually set to 80Hz, which is higher than what most normal-sized speakers can handle. This point can be adjusted if necessary. I advise setting a speaker to “large” only if it has an internal subwoofer. If there is no subwoofer, all speakers should be set to “large.”
The front or surround speakers create muffled sounds when the audio is bass heavy.
If your auto-calibration has not already done this, consider raising the crossover point for the speakers. Small speakers often struggle to produce deep bass effectively. It requires a large speaker or driver to produce these low-pitch sounds.
If your speaker can only produce frequencies of 100Hz or higher and the crossover is set to 80Hz, frequencies ranging from 80-100Hz may not sound optimal. Keep in mind that the crossover point is not a strict barrier. The crossover is essentially a transfer of sound from the speaker to the subwoofer. Both the speaker and subwoofer will produce equal amounts of sound at the crossover point. But as the frequencies drop below the crossover, the subwoofer takes over the sound until the other speaker is silent.
To set the crossover point, consult the manufacturer’s rated speaker response. This information can be found in the user manual for the specific speaker you’re using. I recommend setting the crossover no lower than the lowest rated response for the speaker.
Does one speaker sound off or completely different than the others?
Another important factor to consider is the phase of the speaker. The speakers have drivers that move the speaker in or out, which creates sound. If a speaker is “out of phase,” it means it’s contradicting the movement of the other speakers.
To determine if a speaker is out of phase, inspect the leads or cables connected to the receiver/amp and speaker. Typically, the red or marked wire connects to the positive (+) jack and the other cable to the negative (-) jack. It’s best to always wire your system in phase, with the red/marked wire connected to the positive jack and the black/solid wire to the negative jack. Although, in rare cases, an abnormal setup may require you to wire a speaker out of phase.
If changing the phase doesn’t resolve the issue, it’s likely that the speaker has failed. If you have wired the system correctly, and it still doesn’t work, it’s time to consider replacing the speaker.
Does the subwoofer sound muddy or muffled?
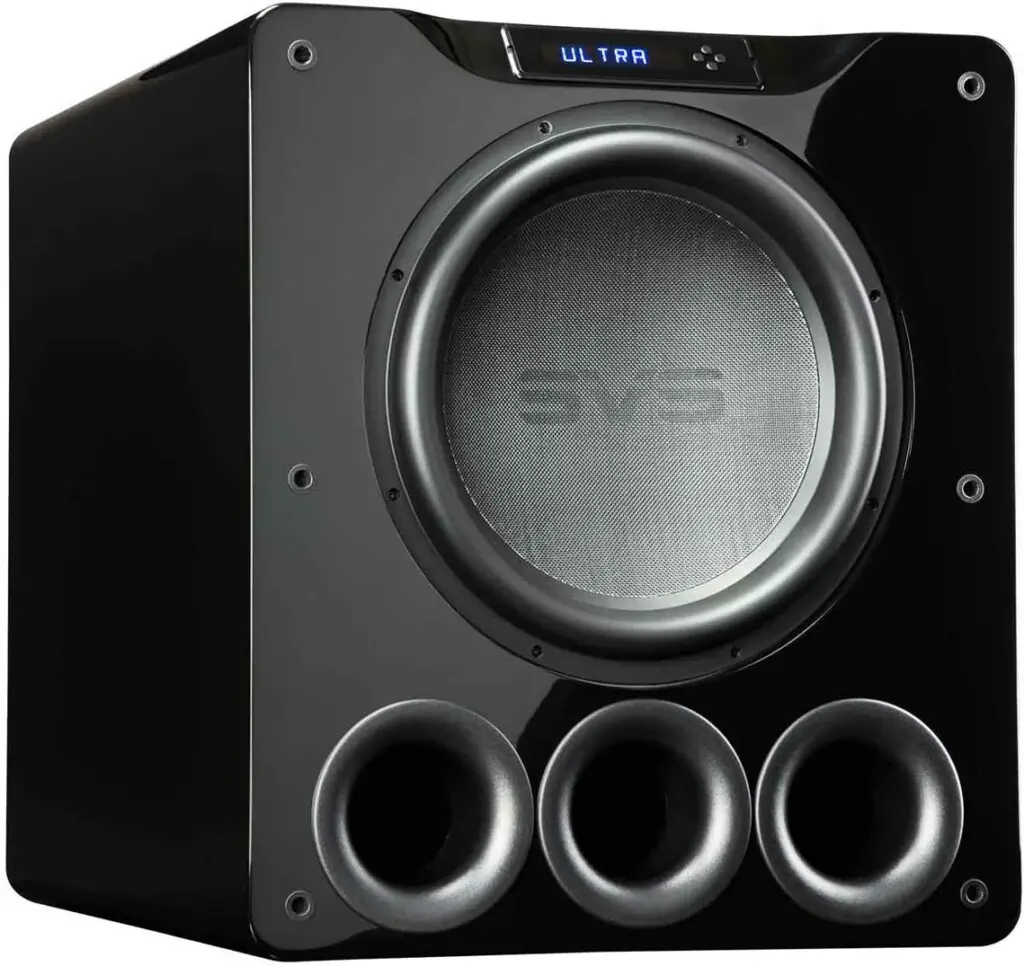
Checking the phase of your subwoofer is a simple yet important step in ensuring your sound system’s performance. The phase of a subwoofer is usually set through a switch or a sweeper knob on the back of the unit. The switch will have two options, either 0° or 180°, while the sweeper knob will have a range of 0° to 180°.
The phase of a subwoofer is similar to that of speakers, but there is a difference to note. If the subwoofer is placed at the front of the room and pointed towards the seating area, it’s recommended to set the phase to 0°. This means all the speakers in the front will push air out simultaneously. However, in some setups, the subwoofer may be positioned off to the side, pointing towards the front speakers. In this case, you may want to set the phase to 180°.
Ultimately, the right phase setting can depend on many factors, including the room layout and personal preference. If changing the phase does not solve the problem of muddy or muffled sound, other issues such as power source or subwoofer itself should be checked.
To Sum Up
In conclusion, there are several things to consider when trying to fix a muddy or muffled sound in your home theater system. First, you can try calibrating the microphone or setting the speaker size. Then, you can adjust the crossover point for your speakers and check the phase of both your speakers and subwoofer.
It’s important to remember that every setup is unique and what works for one person may not work for another. If none of these tips solve the issue, it may be worth checking the power source or the subwoofer itself.
Ultimately, it’s all about trial and error, patience, and persistence. Don’t give up until you have the perfect sound in your home theater. Good luck and happy listening!
Related Q&A

Are you sure the volume is turned up?
Check the volume control, make sure it’s turned up. I know this is a simple one, but sometimes you would be surprised!
What about the audio input settings?
Check the audio input settings. Make sure that the correct audio input is selected, such as “DVD” or “Blu-ray”. This will ensure the right audio settings are in place for the device that you are using.
Have you tried resetting the speaker settings?
Go to the speaker settings in your receiver and reset the settings to the factory defaults. This may solve any issues caused by incorrect speaker settings.
Do you have any other equipment connected to the receiver?
Check the other equipment connected to the receiver. If you have any other equipment connected to the receiver, like a Blu-ray player or gaming console, try disconnecting them to see if that solves the issue.
Is there any problem with the sound from the TV?
Check the sound from your TV. If you are experiencing issues with the sound from your home theater speakers, but not from your TV, then there may be a problem with your home theater speakers.
Have you tried resetting the receiver?
Try resetting the receiver. A simple reset may solve any issues caused by the receiver.
Is there any damage to the speakers or wiring?
Check the speakers and wiring for any damage. If there is any damage to the speakers or wiring, that may be the cause of the issue.
Have you updated the firmware of your receiver?
Check if the firmware of your receiver is up-to-date. An outdated firmware may cause audio issues.
Is the room layout affecting the sound quality?
Check the room layout. If the room layout is affecting the sound quality, consider rearranging the speakers or adding soundproofing materials.
Have you tried different speaker wires?
Try different speaker wires. The quality of the speaker wire can affect the sound quality.
Are all of the speakers working?
Check if all of the speakers are working. If one speaker is not working, the issue may be with the speaker itself or the wiring connected to it.
Is there any problem with the power supply?
Check the power supply. If there is a problem with the power supply, that may cause issues with the sound.
Are the speakers compatible with your receiver?
Check if the speakers are compatible with your receiver. If the speakers are not compatible, they may not work properly.
Have you tried adjusting the equalizer settings?
Try adjusting the equalizer settings. If the sound is not balanced, you may be able to improve the sound quality by adjusting the equalizer.
Is the sound coming through clearly or is it distorted?
Check if the sound is coming through clearly. If the sound is distorted, there may be an issue with the speakers or the wiring.


