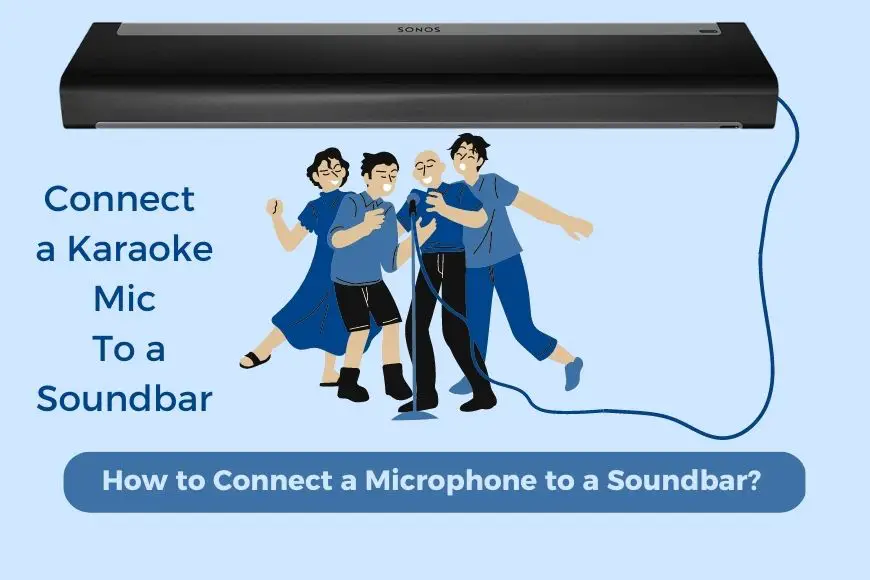
Hosting a karaoke night at home can be fun, but it’s important to get the details right. At first, using the TV screen for free karaoke videos on YouTube and connecting microphones to the soundbar may seem like the perfect solution. However, it can be tricky to connect everything. To Connect a Microphone to a Soundbar here’s what you need to do:
- First, disconnect your soundbar from the audio source.
- Next, connect your TV to a karaoke mixer.
- Then, connect the karaoke mixer to your soundbar.
- Finally, connect your microphone(s) to the karaoke mixer. Turn it on and test to make sure everything is working properly.
If you’ve never done this before, you may be wondering what a karaoke mixer is and why you need one. Unlike connecting your soundbar to your TV or computer, karaoke requires a special connection. The karaoke mixer allows you to control the microphone and music levels, ensuring that your karaoke night is a success.
Table of Contents
The Main Issue with Soundbars
If you take a look at the back of your soundbar, you may notice one or two audio connection options. These can include auxiliary or “line-in,” optical, red and white RCA cables, or even HDMI. While soundbars can be used for karaoke nights, there’s one major issue to consider: they don’t have a dedicated microphone input.
Although soundbars have various audio-in options, a microphone input port is not typically included. Manufacturers simply don’t anticipate the need for one. Even if your soundbar has multiple input options, such as RCA cables and an HDMI port, it’s not possible to connect a microphone output to them.
When manufacturers design soundbars, they don’t expect users to need to run two inputs at the same time. For example, you may have an Xbox connected via HDMI and the cable box through optical. However, there’s almost no reason to “overlap” these audio signals.
Therefore, it’s clear that a karaoke setup using a soundbar will require extra work. Soundbars can only play sound from one input at a time. So, in order for the karaoke music and singer’s voices to come out of the soundbar together, they must be inputted into the soundbar together, over the same input.
The Solution to Connect a Microphone to a Soundbar: Karaoke Mixers
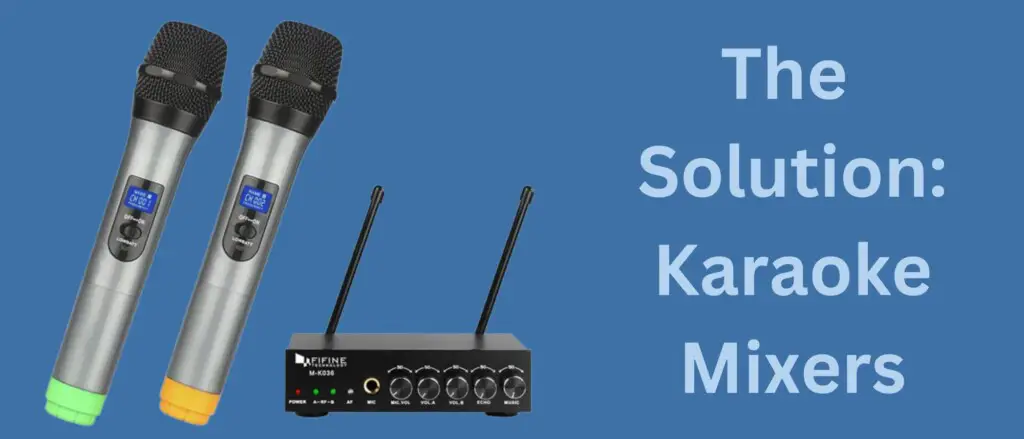
Entering the world of karaoke mixers is the solution to the problem of soundbars not having microphone inputs. These devices are specifically designed to solve this problem. They have inputs for microphones, and some models even come with wireless microphones, making setup even easier.
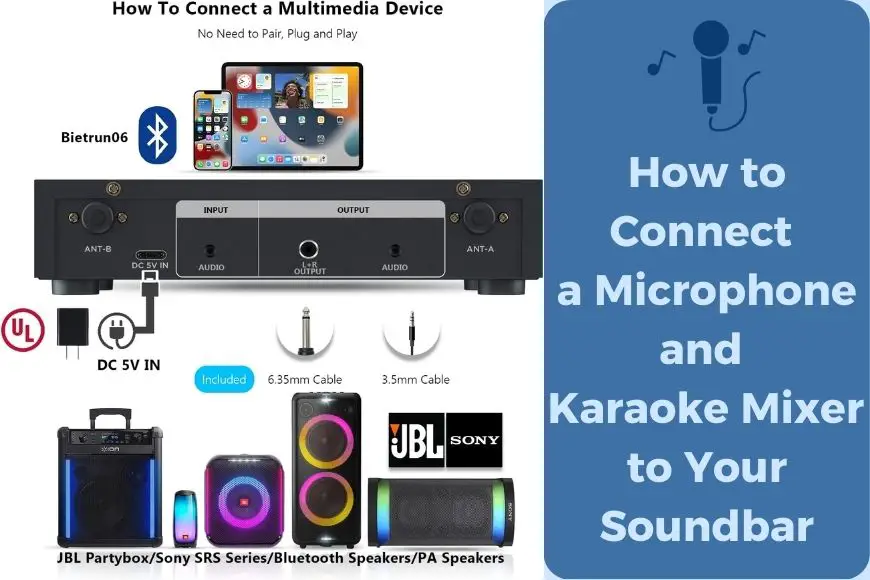
On the back of the mixer, there are ports for inputting and outputting audio channels. For example, the Rybozen Wireless Microphone Karaoke Mixer System, Dual Handheld Wireless Microphone for Karaoke (available on Amazon) has auxiliary (3.5mm) ports for both input and output. This allows you to route the audio channel with the music “in” and then route the mixed audio channel with the music and microphone inputs “out.”
Karaoke mixers also have additional features that may come in handy during karaoke sessions. They’re called “mixers” for a reason, typically having knobs on the front that allow you to control the volume of the music and individual microphones independently, before it’s all sent out as one combined audio-out signal.
It’s important to note that you’ll need to make sure you have the right mixer, or the right adapters, for your karaoke setup. The Rybozen Portable Karaoke Microphone Mixer System (also available on Amazon) has HDMI in and HDMI out, for instance, unlike the unit above. If your soundbar only has an HDMI in, then you’d want a mixer that has HDMI out like this one.
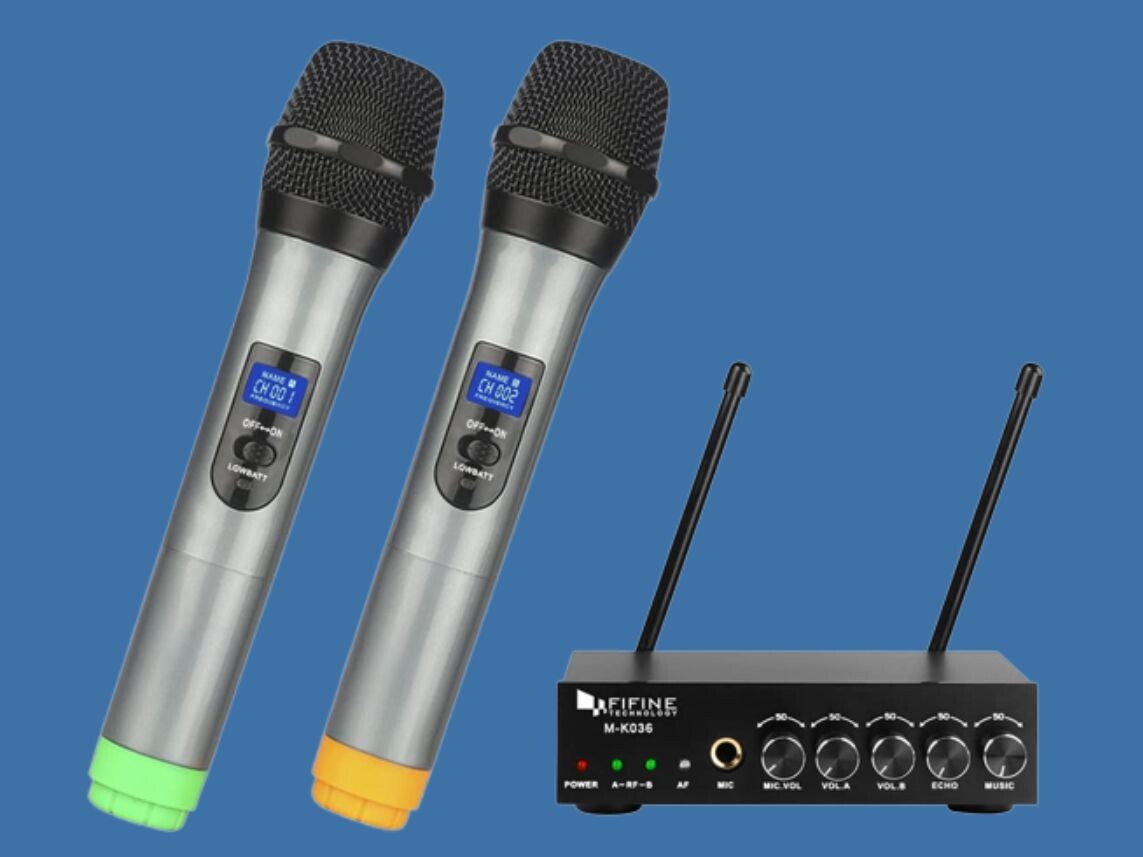
If your soundbar has auxiliary in, then you’d want a unit like the Fifine UHF Dual Channel Wireless Karaoke System-K036, or whatever converter is required to make sure the audio ports on your mixer match what’s coming from the television and what’s needed to go out to the soundbar. Most mixers come with auxiliary and RCA cables, which will help most systems fit together.
How to Connect a Microphone a Soundbar
If you have your mixer, your soundbar, and your microphones ready, here are the steps to link the devices and get started:
1- Disconnect the Soundbar from the Audio Source
When you’re using your soundbar, it typically receives audio input from your TV. But, sometimes the audio can come from other devices like an XBox or computer that are connected via HDMI. To use your soundbar for karaoke, you need to identify the audio source you want to use and disconnect it from the soundbar.
First, if you want to use your TV for the video portion of karaoke, disconnect the cable from the soundbar. However, if you’re using an HDMI ARC setup, where the devices are connected to the soundbar first and then to the TV, you need to disconnect the cable from the device where you’ll play the karaoke video.
It may seem complicated, but don’t worry. If you’re not familiar with HDMI ARC, you’re probably not using it. You just need to disconnect the audio cable from your TV to the soundbar, whether it’s HDMI, RCA, optical, or analog.
2- Connect the Television to The Karaoke Mixer
Now, take the cable you just disconnected from the soundbar (coming from the TV or another audio source if you’re using HDMI ARC), and plug it into the “audio in” port on the back of your karaoke mixer. The type of cable you need will depend on the make and model of your mixer. It may take RCA cables, HDMI, analog, or even optical in. If the ports don’t match, you’ll need an adapter.
Make sure to connect the TV input to the mixer. For example, if you have an HDMI cord coming from your TV, you can connect it directly to the mixer with HDMI in. If your TV has other audio-out options, you may be able to use an analog 3.5mm to 3.5mm cable or RCA-to-3.5mm adapters that come with most karaoke mixers.
It’s important to note that the available ports on your TV and mixer will limit the options for connecting them. That’s why it’s a good idea to plan in advance and purchase a mixer that matches your port availability easily.
3- Connect the Karaoke Mixer to The Soundbar
At this point, you should be familiar with the ports available on your karaoke mixer. There will be an “audio-in” port that you used in the previous step and an “audio-out” port that you’ll use now. Find the audio-out port and connect the karaoke mixer to your soundbar.
Just like the previous step, you’ll need to match the karaoke mixer’s audio output port to your soundbar’s audio input port. If the ports match, you’ll only need one cable. If they don’t match, you may need an adapter or cable with different ends like a 3.5mm to RCA cable.
4- Connect the Microphone to the Karaoke Mixer
Now that the mixer is routing audio from your TV or video source to the soundbar correctly, it’s time to focus on the microphone. You may have multiple microphones for duets or just one microphone, but they’ll connect the same way: through the karaoke mixer.
Most karaoke mixers come with their own microphones, like the Fifine UHF Dual Channel Wireless Karaoke System-K036. This is great because the microphones are paired on different wireless frequencies than most of your other equipment, minimizing interference.
Wired microphones are typically connected via a ¼” input labeled “mic.” If you’re using wired microphones, simply plug them in. For wireless microphones, there will be an on/off switch and batteries that need to be changed periodically. If the wireless microphones came with the karaoke mixer, they should work as soon as you turn them on (assuming the batteries are charged). There may be a pairing process, but you can refer to the karaoke mixer’s instructions.
Although some karaoke mixers can take a mic-in via Bluetooth, allowing you to potentially use your phone or other Bluetooth microphones with the mixer. But, this option may have some signal disruption issues and if you’re committed to karaoke, you probably want the handheld microphones.
4- Turn All On And Test
Now that everything is connected, you’re ready to test the system. First, play something on your TV or video source and make sure there is sound coming out of the soundbar. If you don’t hear anything, check the volume settings on the TV, soundbar, and mixer independently.
Once you’re able to hear the video source through the soundbar, grab your microphone and say something! If you don’t hear yourself over the soundbar, adjust the knobs on the mixer to increase the volume of your voice compared to the music input. Test this for all of your microphones and you’re ready to start singing!
How to do Karaoke with your Soundbar
In addition to the hardware setup, managing the music is an important aspect of hosting a successful karaoke night. To avoid fiddling with remotes, you can use YouTube as a great source of karaoke tracks. It eliminates the need to buy a special karaoke app and has the added benefit of allowing you to cast videos from your phone.
A good strategy is to cast songs from your phone to the YouTube app on your TV, with all the audio managed through the karaoke mixer as previously described. This allows you to cue up songs in advance and give control of song selection to someone else, which will keep the party flowing smoothly.
Related Q&A
How do you connect a microphone to a soundbar for karaoke?
- Disconnect the soundbar from the audio source, connect the Television to a karaoke mixer, connect the karaoke mixer to your soundbar, connect the microphone(s) to the karaoke mixer, and turn on and test.
Why do you need a karaoke mixer when using a soundbar?
- Soundbars don’t have microphone-in options, so a karaoke mixer is needed to input the microphone and mix the audio signals.
What is the problem with using a soundbar for karaoke?
- Soundbars don’t have microphone-in options, and can only play sound from one input at a time.
How do karaoke mixers solve the problem of using a soundbar for karaoke?
- Karaoke mixers have inputs for the microphones, and ports to allow for inputting and outputting audio channels. They also have knobs to control the volume of the music and the microphones independently.
Can you use any karaoke mixer with a soundbar?
- No, you’ll need to make sure the mixer has the right input and output ports that match your soundbar.
Do all karaoke mixers come with microphones?
- No, some models come with microphones, but not all.
Can you control the volume of the music and microphone separately on a karaoke mixer?
- Yes, most karaoke mixers have knobs to control the volume of the music and microphone separately.
Can you use a soundbar without a karaoke mixer for karaoke?
- No, you need a karaoke mixer to input the microphone and mix the audio signals.
Can you use a karaoke mixer for other purposes besides karaoke?
- Yes, karaoke mixers can be used for other audio mixing purposes.
What type of cables do karaoke mixers typically come with?
- Most mixers come with auxiliary and RCA cables which will help most systems fit together.
How do you connect a karaoke mixer to a soundbar?
- Connect the Television to the karaoke mixer, then connect the karaoke mixer to the soundbar.
Are all karaoke mixers wireless?
- No, some models come with wireless microphones, but not all.
Can you use a karaoke mixer with a computer?
- Yes, you can use a karaoke mixer with a computer by connecting the computer to the mixer and the mixer to the soundbar.
Do all soundbars have the same audio connection options?
- No, soundbars have different audio connection options like auxiliary, optical, RCA cables, or HDMI.
What is the range of wireless microphones that come with some karaoke mixers?
Some wireless microphones have a range of up to 160 ft.