

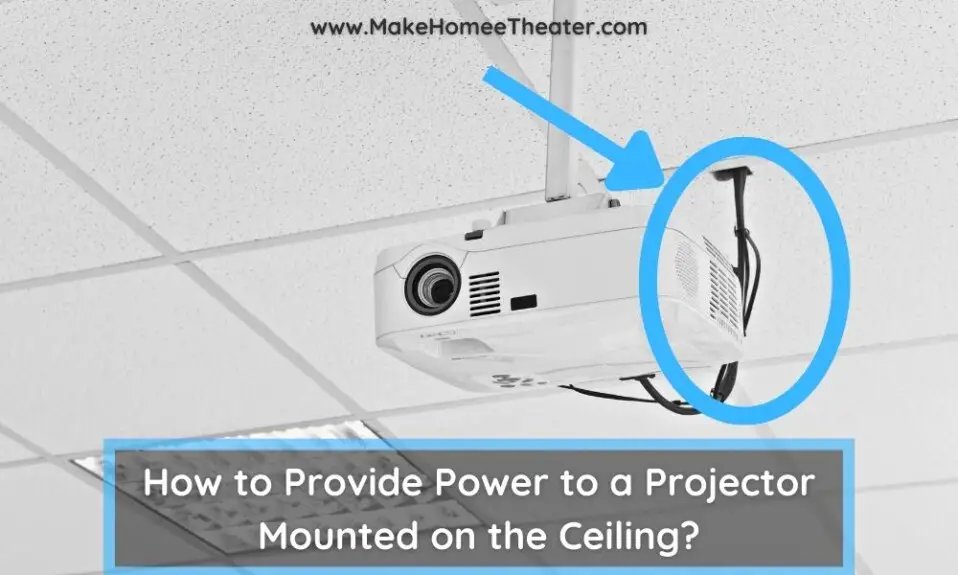
A dangling power cable can make a projector setup look unprofessional. Though you may have managed to tuck the cable along the wall and corners, it is still unsightly. And, managing all that cable can be a hassle. How to provide power to a projector mounted on the ceiling?
However, there is a solution. If you are familiar with our blog, you know that wireless HDMI and streaming can eliminate some cables. But when it comes to power, the best way to hide the cable is by running it into your attic or through the wall.
- Upgrade your attic by installing a power outlet
- Connect the projector to the new power outlet by running the cable
- Test the projector is working properly by turning it on
In case you don’t have an attic
- Determine whether to use a kit or hire an electrician to run a new power line.
- Run the wire from the projector to the outlet.
- Test the projector by turning it on.
To get rid of the unsightly power cable, you can install a power outlet in the attic and run the projector power cable to the outlet.
Both of these methods require attention to detail. In this article, we will guide you through the process step by step. By the end of this article, you will have the knowledge and confidence to take the next step and achieve a clean, professional home theater setup.
In case you have an attic
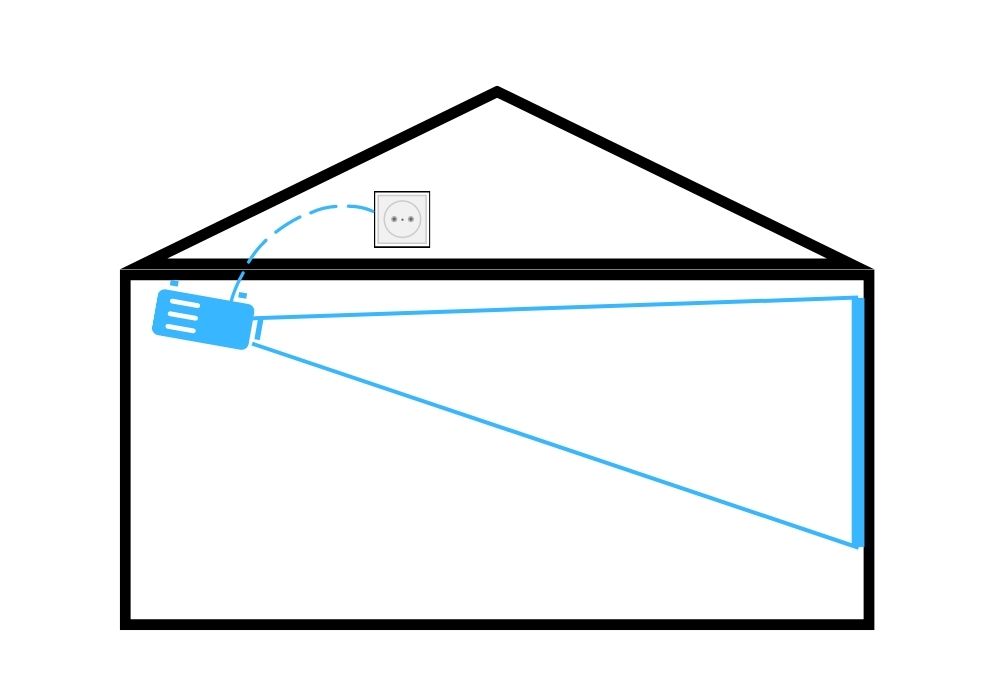
If your projector is installed on a ceiling with an attic on the other side, you will have less work to do. You may even find an electrical socket in the attic that you can use. However, even if you find a socket, it may not be in the right location.
1. Upgrade your attic by installing a power outlet
When installing a power outlet in the attic, it is important to consider the location. Simply putting an outlet anywhere or using an extension cable will not work. This is a building code issue. Extension cables should not be laying around in the attic near insulation.
To ensure proper installation and safety, it is important to find the right location for the power outlet based on your setup. Let’s start by identifying that location.
Check the Projector and Power Outlet Locations
Odds are, you already know where you want to mount your projector. If you don’t have a mount yet, don’t worry, we’ve compiled a list of the top 11. The spot on the ceiling is set by the center-line of the screen, which is probably where you started thinking about your home theater setup. And, to be clear, the projector should be mounted on the centerline.
However, you don’t need to worry as we have a lot of room to work with when it’s the attic you need to get into. Our route can’t be blocked by studs or joists because we’re just going straight up through the sheet-rock.
Start by looking at where the projector is, and where you’d like the power cable to disappear into the ceiling behind it. This spot will likely be about six inches back from the projector itself. Use a stud finder on the ceiling to ensure you are directly next to a stud then mark the spot with a sharpie.
Now, using a drill-bit, go ahead and drill through the ceiling and insert a glow rod (on Amazon). You’ll need to do this so you can find the spot when you’re on the other side, up in the attic. The glow rod isn’t 100% necessary, but it’s extremely helpful when running cables through ceilings and/or walls.
Find the hole
When you’re up in the attic and have found that hole, you now need to figure out where, relative to the hole, the power outlet should go. If you know the length of the projector’s power cable, you can use that information to try to find somewhere within “reach” of the projector to put the outlet.
If there’s no hard surface-no vertical two-by-fours or anything where you can put an outlet box, that’s okay. You can always bolt the outlet to the side of a horizontal two-by-four that’s within reach. Make a call about where you want the socket, based on the hole you drilled and the projector’s power cable length, and then you’re ready for the next step.
Install the Power Outlet
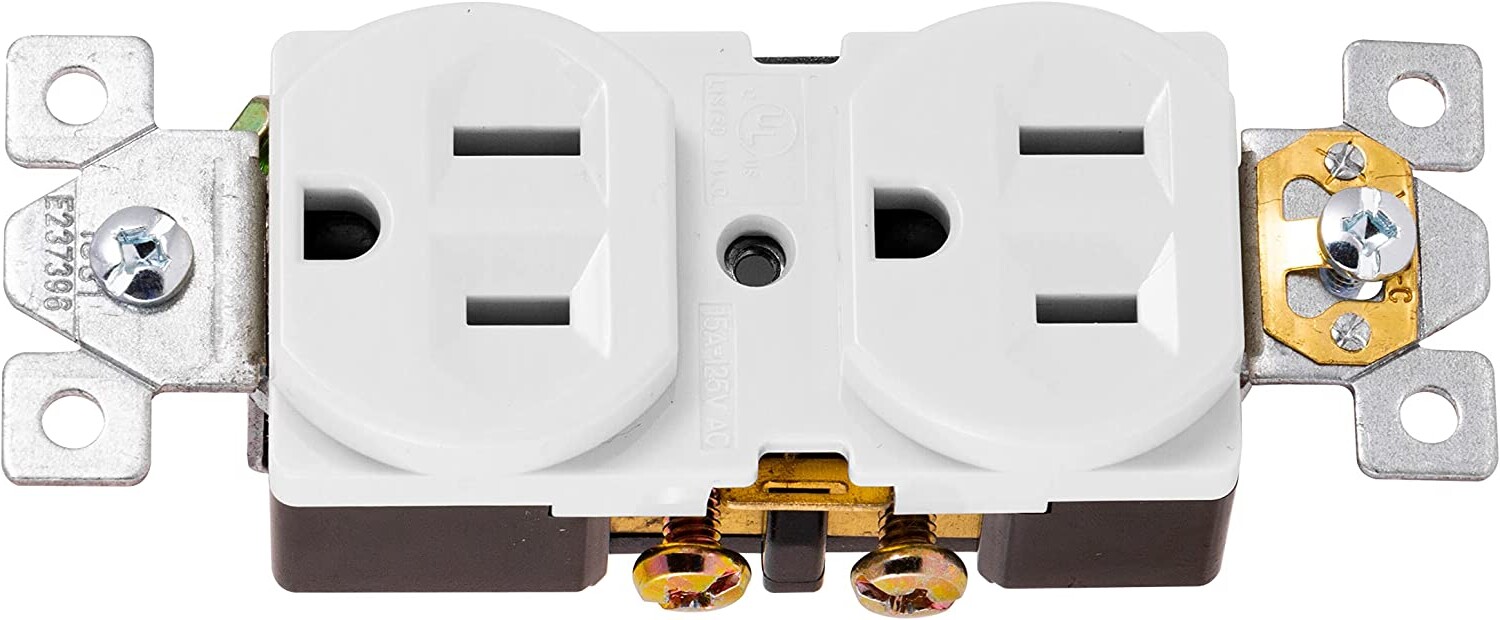
Once the outlet box is installed, you can run the power cable from the projector to the outlet. This is where Romex cable comes in. Romex is a type of electrical cable that is commonly used in residential wiring. It is made up of three wires: black, white, and green. The black and white wires are the hot and neutral wires, respectively, and the green wire is the ground wire.
Before running the cable, it is important to check your local building codes to ensure that you are using the correct type and size of cable for your area. It is also important to make sure that the cable is properly grounded.
Warning: If you do not know how to install an outlet already, I highly suggest that you contact an electrician. If you have any uncertainty at all, do not attempt this without a professional’s help.
Once the cable is run, you can connect it to the outlet and test it to make sure everything is working properly. If everything is working, you can then proceed to hide the cable in the attic or run it through the wall, depending on your preference and the layout of your home.
It is important to note that if you are not comfortable or familiar with electrical work, it is best to hire a licensed electrician to help you with this project to ensure that it is done safely and to code.
2. Connect the projector to the new power outlet by running the cable
A cable brush plate is a small device that sits in the hole you cut in the ceiling and helps to guide the power cable through while also preventing insulation or other debris from entering the hole.
Install a Brush Plate
Installing brush plates, like the one available on Amazon, is a smart choice for a professional-looking cable installation. These plates provide a clean opening in the ceiling through which cables can be drawn. Instead of simply cutting a small hole in the sheetrock, a brush plate adds a polished look to the installation.
The good news is that brush plates are both inexpensive and easy to install. Simply mark the spot where the cable will be placed, align the brush plate opening, and use the fasteners provided to attach the plate.
After the plate is securely in place, pull the power cable through the plate and into the attic to be plugged in. However, it’s important to be cautious when cutting the hole. If the hole is cut too large, the brush plate will not have anything to screw into. To avoid this mistake, measure the hole carefully and leave enough space around it for the plate to be attached.
Media Cables

When planning to conceal power cables by running them into the attic, it’s important to consider the media cables as well. There are a few options for hiding these cables, such as placing audio-video equipment in the attic, or running the cables from the projector up into the attic and then dropping them down in a more convenient location.
When installing a brush plate, it’s important to keep in mind that it can also be used to feed more cables up. Even if you plan to use wireless connections, it may be beneficial to hide an HDMI receiver in the attic and only run the HDMI cable down to the projector.
However, it’s important to plan for the power needs of any equipment in the attic. Wireless receivers, for example, still require power, so ensure that there are enough outlets to accommodate all of the equipment.
3. Turn On and Test
After running the power cables, the next step is to test the setup and ensure that everything is working properly. If you have completed the installation on your own, remember to turn the breakers back on.
To ensure that everything is working as intended, power on the projector and check that it stays on. Additionally, it may be beneficial to quickly check the equipment in the attic, just to be sure. If the projector and any other equipment that requires power is on and stable, the installation is complete.
In case you don’t have an attic

If you don’t have an attic, running power cables to the projector becomes more challenging. Without an attic, your options for getting an outlet near the projector are limited.
Instead of having an open, empty space to work with, you will need to run the cable through the narrow gaps in the walls and ceiling. It’s best to hire an electrician to handle this task, but if you’re handy or willing to learn, there are ways to do it yourself.
1. Determine whether to use a kit or hire an electrician to run a new power line.
If you choose to do this task yourself, there are a few options available to you. The first option is to purchase a kit like the Powerbridge (on Amazon), which comes with all the necessary hardware and cabling. This is the easiest option, but it still requires running the wires through the walls and ceiling.
Another option is to install a new outlet “from scratch” by purchasing all the necessary parts and pieces yourself. This option requires more experience and knowledge, but if you are comfortable with electrical work, the basics of this process are outlined below.
Using a Kit
Fishing wire through the wall and ceiling can be a tricky task, but it can be done with the right tools and patience. One way to do this is to use a fish tape, which is a long, flexible metal tape that can be bent and pushed through tight spaces. Another option is to use a flexible rod, such as a coat hanger, that can be bent to fit through tight spaces.
Once you have the wire fished through the wall and ceiling, you can then attach the power outlet and the brush plate. Be sure to follow all safety precautions and local building codes when installing the outlet and wire.
It is also important to note that if you are not experienced in electrical work, it may be best to hire a professional electrician to do the job for you. Not only will they have the experience and know-how to do the job safely, but they will also be able to ensure that the installation meets local building codes.
Running power line “from scratch”
It’s important to note that if you’re not experienced in electrical work, it’s best to consult with a professional electrician to ensure the safety and proper installation of any electrical components.
Even if you choose to use a kit like the Powerbridge, it’s still important to understand the basics of electrical wiring and to follow proper safety precautions. Additionally, you should also check and comply with the local building codes and regulations.
2. Run the wire from the projector to the outlet.
Fishing wire through walls can be a tricky task, but with the right tools and techniques, it can be done relatively easily.
Fishing the Wire
Installing cable can be a challenging task, especially when it comes to hiding it. To ensure the cable is properly installed, planning is key.
Firstly, use a stud finder to map the route of the cable. This includes marking the spot where the outlet by the projector needs to be and using a pencil to mark the joists in the ceiling. This will help you understand your options for which external wall to head towards.
Next, decide which wall to go to, based on where an outlet already exists. This will make it easier to plug in the cable. Use the stud finder to figure out which side of the stud the outlet is on and aim for that spot when fishing the wire.
Lastly, you may need to remove some sheet-rock at the corner of the ceiling and the wall to drill a hole for the cable to run through, allowing it to drop into the wall.
It’s important to remember that this can be a difficult task and hiring an electrician may be the best option. However, with proper planning, you can successfully install the cable and get it in the right place, ready to install the outlets.
Installing Brush Plates and Power Sockets
Now that the cable is run, you’re almost done with the installation. Installing the sockets and any plates that came with it is relatively easy compared to fishing the cable. The electrical connection of the cable to the sockets can be intimidating, but by following the wiring instructions, you’ll be fine. Remember to turn off the breakers if you’re tieing into the house’s electrical system.
If you’re using the Powerbridge kit, the plate at the ground is the male end of a plug. This is designed for you to use a short extension cable to connect it to an existing outlet. This means the Powerbridge is essentially a glorified extension cord, but it’s up to code.
If you’re using the kit, the brush plates for the media cables are already included. However, if you did the power run “from scratch” you may need to get some brush plates for the media cables to run them to the projector. But since you already fished one line through, it should be easy to use string and the existing cable to pull them from one end to the other.
3. Test the projector by turning it on.
After completing the installation, it’s time to test everything. Make sure that the appropriate breakers are on and that any other electrical connections you’ve made are up to code before turning it on. Once you’ve done that, turn on the projector and make sure there is no smoke or unusual smell in the first few minutes. If everything is working properly, you’re good to go.
Final Words
Running power to your ceiling projector is a challenging task, but it can be done with the right planning and preparation. The key is to map out the route of the cable and locate any potential obstacles, such as joists or studs, beforehand.
If you have an attic, getting that socket in can be the most difficult part. But, if you don’t have an attic, you may face some frustration when it comes to running power cable through the ceiling and walls. It’s important to remember that this extra effort is necessary to do the job right.
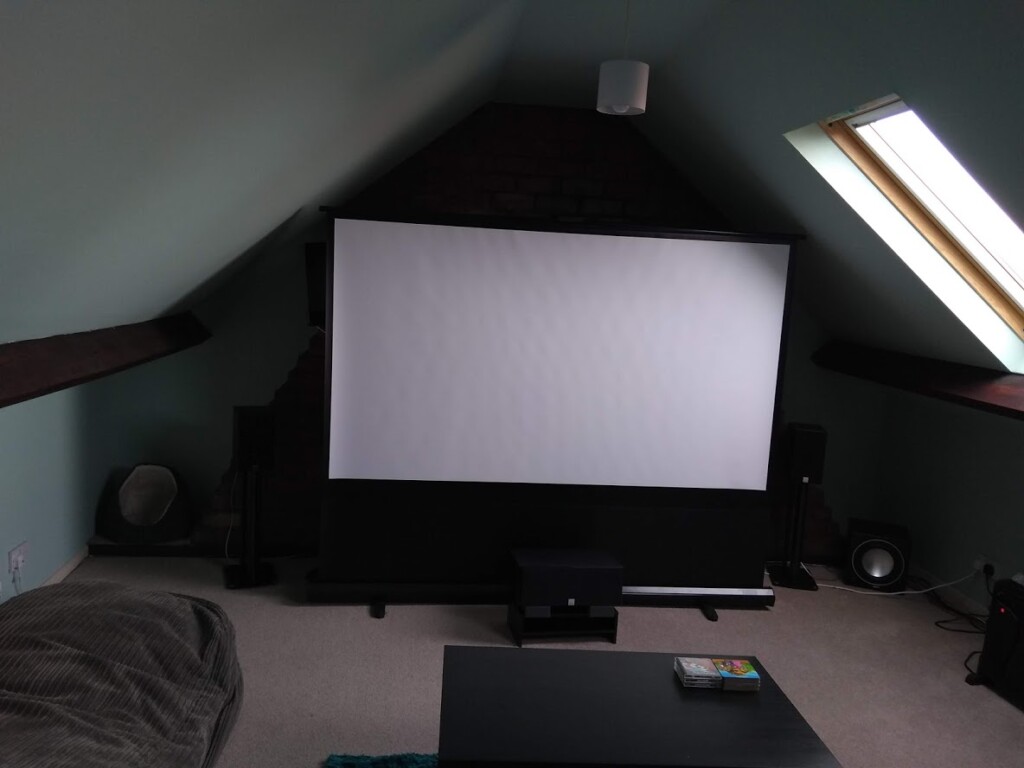
Once you have the power cable run and the sockets installed, the payoff is a clean and professional setup. It may be a lot of work but it’s definitely worth it in the end.


2 Comments