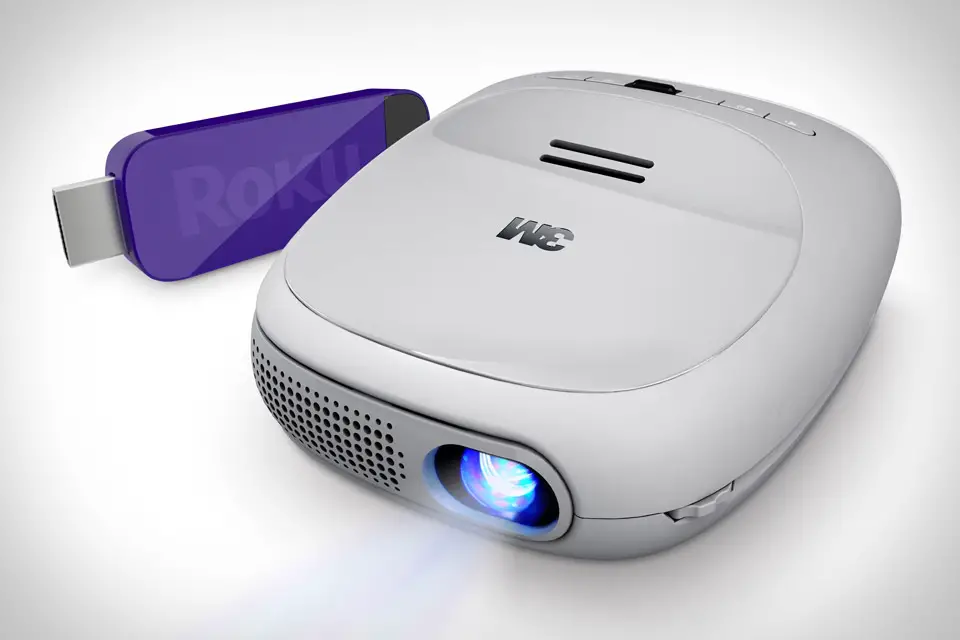
If you’re looking for a cost-effective alternative to a Roku smart TV, using a Roku Stick with a projector is a great option. The Roku Streaming Stick+ offers 4K picture quality, making it a perfect match for a projector. How to connect a Roku Stick to a projector?
To connect your Roku Stick to a projector, you can simply plug it in. However, to improve the sound quality, you may want to consider using a wireless HDMI kit and an HDMI audio extractor or A/V Receiver. This setup allows you to stream video to the projector while routing the audio to better speakers, such as a soundbar or speaker system.
One potential issue when connecting a Roku stick to a projector is how to manage the audio. But don’t worry, there are easy solutions available. With a few simple steps, you can ensure that the sound is played through your preferred speakers and not the projector’s speakers.
Table of Contents
Methods for Connecting a Roku Stick to a Projector
To connect a Roku Stick to a projector, you must use an HDMI connection. The specific model of your Roku Stick may determine the type of HDMI cable you need to use.
It is important to note that HDMI is the only option available to connect your Roku Stick to a projector. So, make sure that your projector have HDMI port.
Connect using HDMI Directly to Projector
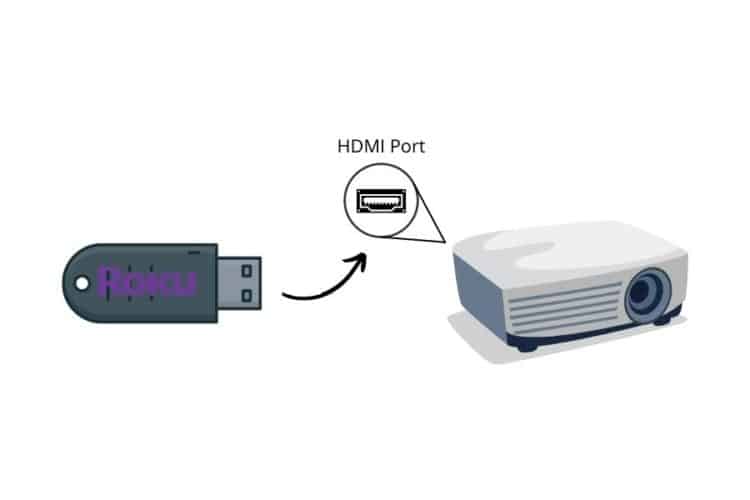
The Roku Streaming Stick+ is designed to connect to a projector using an HDMI connection. This is done by plugging the Roku Stick’s HDMI plug into the projector’s input jack. However, this direct connection can cause issues with audio.
Most projectors have poor speakers or no speakers at all and are not designed for proper surround sound quality. This means that the audio from the Roku device will be sent to the projector, which is not ideal.
If you have a nice speaker system, you will need extra cables to transfer the audio from the projector to the speakers, which can create clutter. This problem can be addressed by using short-throw projectors, rear projectors, or a long HDMI extension cable to place the Roku Stick near the screen.
It’s worth noting that the solutions mentioned above can be space-intensive, expensive and cumbersome. However, it’s hard to avoid the need for line-of-sight between the remote and the Roku Stick.
Roku has addressed this problem with some of its models, such as the Roku Streaming Stick+ and the Roku Stick Express. These models have a WiFi direct feature that allows the remote to connect to the Roku Stick via WiFi instead of a standard infrared beam. This feature enables you to point the remote in any direction and get a response from your Roku Stick.
Connection using a Wireless HDMI Kit
An easy way to play video from a Roku Streaming Stick+ on a projector and manage audio separately is to use a device called a wireless HDMI kit. One example of this is the WeJupit Mini Wireless HDMI Extender Kit. This device sends the video from your Roku Stick to the projector wirelessly, so you don’t have to use extra cables. It also makes it easy to control the audio on the ground, making it more convenient for you to use.
It’s worth noting that wireless HDMI kits are easy to set up and use. You can put the Roku stick wherever you want, and the video will be wirelessly beamed up to the projector. This way you can have flexibility in the placement of your devices and it will make the setup process more straight-forward to do.
Another way to manage the audio when connecting a Roku Streaming Stick+ to a projector is to use an A/V Receiver or an HDMI audio extractor.
One way to do this is by hooking the Roku into an A/V Receiver and then running the output of the receiver to a wireless HDMI kit. This way, you can use the receiver to manage the audio, and the wireless HDMI kit to transmit the video to the projector.
Another solution…
Another option is to use a special device called a wireless HDMI kit and HDMI audio extractor. This will allow you to play the video on a projector, and the audio on a speaker, like a soundbar. One good example of an HDMI audio extractor is the J-Tech Digital one. All you have to do is plug in your Roku device into the extractor, and then plug the extractor into the wireless HDMI kit. Don’t worry if it sounds confusing, there are easy to follow guides online that can help you set it up.
Connect to an A/V Receiver
An A/V Receiver is an excellent solution when you have a surround sound system or multiple speakers that need to be managed.
By plugging the Roku Streaming Stick+ into the HDMI in port of the receiver, you can route the audio as needed. From there, you can use an HDMI cord or wireless HDMI kit to transmit the video from the receiver to the projector.
It’s worth noting that while an HDMI audio extractor can free up the audio from the Roku Stick, it typically doesn’t have as many outputs as an A/V Receiver. So, if you have a surround sound system or more than a few speakers to manage, an A/V Receiver is a better choice.
Problem with Connecting Roku Stick Directly to a Projector
As mentioned in previous sections, one of the main issues when connecting a Roku Streaming Stick+ to a projector is the sound being trapped on the device or on the projector’s onboard speakers. However, there are ways to solve this problem.
One option is to use a wireless HDMI kit to place the Roku on the ground where you can manage it directly. However, you’ll need to add an extractor kit or A/V receiver to split the audio and video content.
It’s worth noting that if you are going through the effort of managing the audio, you may also be considering a more robust solution for the video content as well. This may include using a wireless HDMI kit in combination with an extractor kit or A/V receiver for optimal sound and video quality.
Issues with Audio from Roku on Projector’s Speakers
It’s important to note that electronics don’t always work as expected, and you may encounter connectivity issues, particularly if you have an older projector. However, most problems that occur when connecting a Roku Streaming Stick+ to a projector relate to sound. This can include issues such as poor sound quality or no sound at all.
Annoying Automatic Features
When you encounter a problem with no sound when connecting a Roku Streaming Stick+ to a projector, the first and most cost-effective option is to check if the projector is configured correctly. This can save you a lot of money if your sound issues are as simple as changing a setting.
For example, the Optima HD26 projector has an automatically enabled setting called HDMI link. This setting is designed to allow the projector to coordinate multiple devices but can cause handshake issues with the Roku Stick. Disabling this feature can fix the problem.
It is worth taking the time to explore the projector’s settings, particularly the audio section, to ensure that the audio output is routed to the correct location. This can save you time and money in the long run.
Advanced Audio Codecs
Another issue that can cause problems with sound when connecting a Roku Streaming Stick+ to a projector is a projector that doesn’t support the audio codecs used by the Roku Stick. This problem is typically only noticed with certain media, such as blockbuster action, sci-fi, and fantasy films.
If this is the case, you may not be able to get sound from media that uses audio codecs like Dolby Digital or DTS. The solution to this problem is usually to place a sound system between the Roku Stick and the projector, which can be an expensive solution.
Older Equipment
If your equipment is older, it may not have HDMI options. While it’s unlikely you’d use a projector that old, many audiophiles prefer older audio equipment.
One solution is to use an HDMI audio extractor. It separates the audio signal from the HDMI signal and lets you transmit the analog audio to your sound system.
In rare cases, where you’re using older projection equipment, you can use an HDMI-to-analog converter. However, these require an external power source. Keep in mind, there’s no such thing as a digital-to-analog cable.
Projecting with Roku
With the right setup, you can enjoy a high-quality viewing experience by connecting your Roku stick and projector. And, by taking the time to manage your audio, you can achieve a premium listening experience too.
Read also: How to Connect an iPhone to an A/V Receiver